| 1970's Era Schwinn Stingray/Raleigh Restoration |
 |
 |
I purchased my Schwinn Stingray at a yard sale for 30$. It was red, white and blue, was missing spokes, and was overall an ugly bike. I didn't care much; in fact I spray bombed it a copper brown, leather wrapped the seat and rode it just like I bought it for years. My buddy also had a similar bike, his made by Raleigh. We would ride them around town together as a change of pace from our mountain bikes. We decided one day to completely tear them down to the frame and restore them the right way. This project site chronicles some of what we went through, as well as contains some other information about these bikes, places to get parts, problems we have had along the way, and how we use them today
Click for the Money Shot of the my Schwinn Stingray

|
Restoration Photos |
|
We began by dismantling the entire bike, building a sandblasting enclosure using a large cardboard box, and sandblasted the frame to remove all of the paint. Once the frame was down to bare metal, we cleaned it thoroughly and began the filler work described below.
This project was completed back in 2001 and I do not have as many photos of the process as I would have liked, but the few that I have help to show some of the important parts of the process. |
|
I wanted to make the bike look smoother where the spot welds in the frame were. There are only a few areas on the frame to do this, the most notable being where the rear wheel attaches to the frame. The other location we used body filler to smooth out the frame was on the 2 inch crossbar at the bottom of this photo.
While this work took us many hours to complete, it paid off by giving the frame the smoother look that we were looking for. |
|
We used a compressor powered paint gun used in the automotive industry to paint the cycles. The paint we chose came from NAPA and cost about 50$ each for the paint and hardener, which we mixed ourselves prior to spraying. We used one-step paint and did not have to clear-coat the frames to get a good shine.
|
|
It is important to spray the hard to reach areas of the frame and forks first, and to apply the paint in very light coats as to not run the paint around the tubular bars of the frame, which are notably very difficult to spray without running.
You must also take into account how long much time you wait before putting on the next coat. Too little and you will run your paint, too long and the paint will dry and will not bond correctly with the next coat. This will result in chipping. Too much paint will also result in easier chipping, so be sure to get the best coverage you can without putting on the paint excessively thick. |

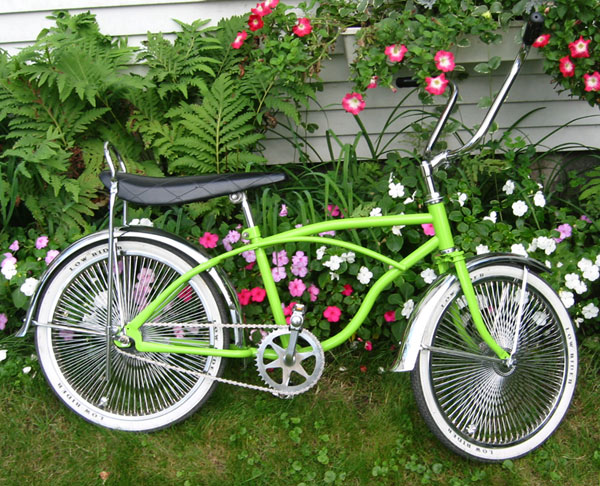
Raleigh, Model Unknown, Name "Brownstar"
Click for Full Size
Original Crank, Fork and Seat
144 Spoke Wheels, Ducktail Fenders

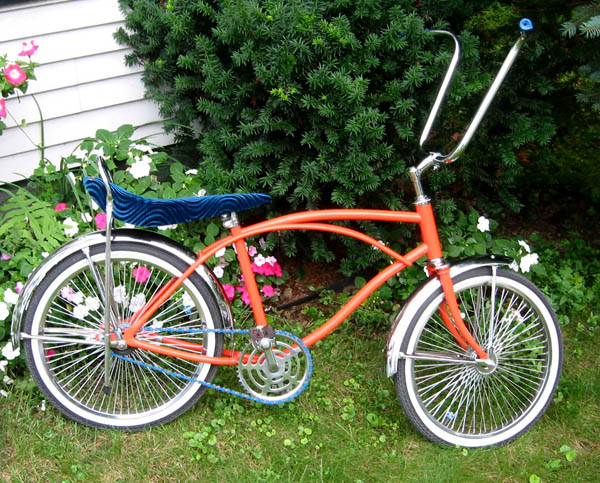
1970's Era Schwinn Stingray
Click for Money Shot
Original Crank and Fork
72 Spoke Wheels, Classic Fenders

|
| |
|
